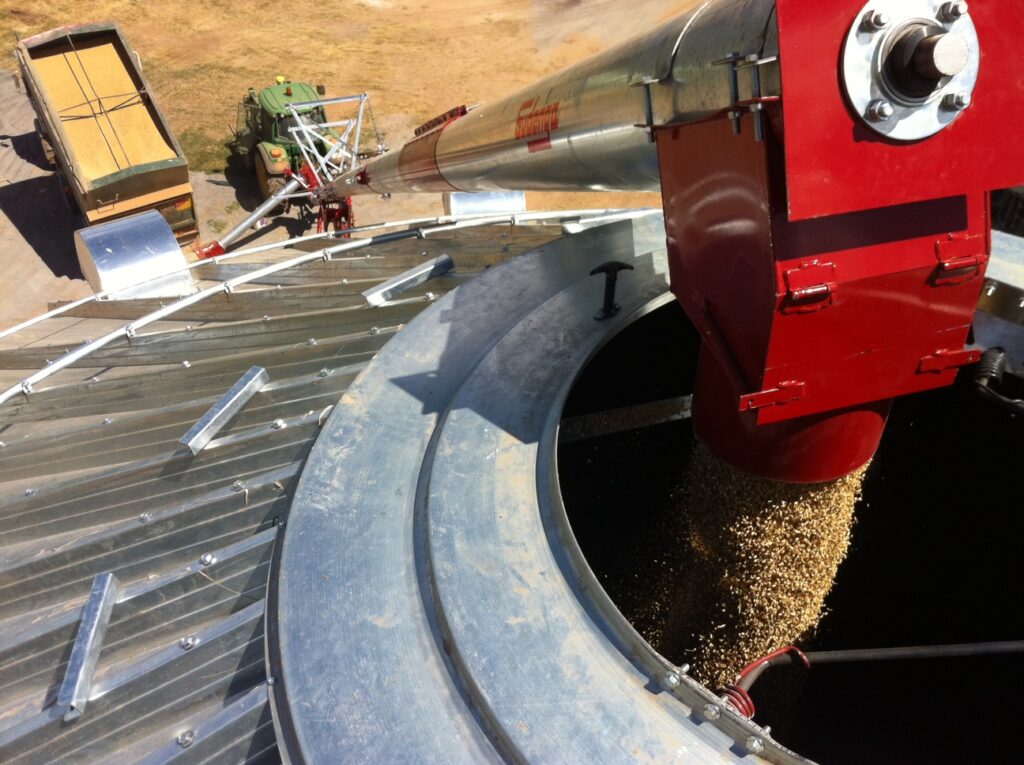
Preparing Equipment for Harvest? Don’t Forget Your Portable Auger.
It is almost fall and chances are a key piece of your harvest equipment is sitting there quietly waiting for the chance to work. The portable auger is often the last piece of equipment people think about as they service their combines, trucks and tractors in preparation for harvest. But don’t overlook the humble portable auger when it comes to pre harvest service. It can stop harvest operations cold if it breaks down.
News / Preparing Equipment for Harvest? Don’t Forget Your Portable Auger.
Preparing Equipment for Harvest?
Don’t Forget Your Portable Auger.
It is almost fall and chances are a key piece of your harvest equipment is sitting there quietly waiting for the chance to work. The portable auger is often the last piece of equipment people think about as they service their combines, trucks and tractors in preparation for harvest. But don’t overlook the humble portable auger when it comes to pre harvest service. It can stop harvest operations cold if it breaks down.
Follow this eight-point service checklist to ensure your portable auger isn’t the weak link in your harvest operations.
Grease everything – It can be a pain to get the nozzle of the grease gun on some of them, but don’t neglect the grease fittings on your knuckles, bearings and chain and sprockets. Don’t skip any. The manufacturer put the grease fittings in those locations for a good reason. Regularly greasing these parts is one of the most important things you can do to increase the life of your auger and minimize component failure. There are typically grease points on all knuckles and bearings, but don’t forget chains inside any drive boxes, fittings on gearboxes and even on parts of the auger’s transport. Greasing transport hinge points can make it easier to get the auger in and out of its saddle.
Inspect tires –After pumping the tire to the correct air pressure, inspect the condition of the tire. Sun and weather can make your tires brittle. Check for cracks in the sidewalls or cords showing through in the tread area. Replace the tire if you see either of these flaws. You don’t want a tire to fail while you are moving the auger, or while it’s up on the bin. The tires bear much of the weight from a loaded auger. Make sure they are up to the task.
Inspect and tension truss cables – Longer portable augers typically have truss cables. Inspect them for cuts or fraying. Make sure tension is evenly distributed between all the available auger truss cables. When you sight up the tube, the auger should be straight from left to right and have a slight bow upward towards the discharge end. This bow ensures the auger settles straight when loaded. Properly tensioned cables help the auger run quieter, increasing the life span of the auger tube and flight. Once the cables are adjusted, verify that all cable clamps, nuts and bolts are tightened sufficiently.
Check gearbox oil – The oil in the gearboxes of most portable augers doesn’t require frequent changing, but you don’t want too little, or, too much. Consult your owner’s manual for the proper gearbox oil type for your climate and to find out how much is enough, as gearbox oil level requirements do vary somewhat based on gearbox mount position and brand.
Inspect the auger flight –Visually inspect the grain intake and main transfer points of the auger. If the flight is razor thin, usually at the edges, replace it or have it re-flighted by a reputable repair shop. Inspect the welds between the flight coil and flight pipe. Repair as necessary. Hopefully, you didn’t forget to repair any problems with your auger’s flight before you put it away last season. When you run the auger with grain in it for the first time this season, it shouldn’t loudly bang or violently shake the auger. If it does, it probably means the flighting is damaged or the center flight pipe is bent. This will need to be repaired or replaced.
Inspect any hydraulic lines and cylinders – If there are any leaks, replace the cylinder or put a seal kit in it. Inspect the connections of all hydraulic lines for leaks and hydraulic hoses for any cracks or holes. Replace as necessary.
Inspect your PTO shaft – Greasing the crosses and yokes of your PTO shaft and making sure all the guards are in place is pretty common practice. An item that is often overlooked is to make sure you have the right shear bolts in the PTO. PTO shear bolts are specific to the PTO’s horsepower rating. It might seem ok to replace a sheared bolt with any you have on hand during auger use, but PTO shear bolts ensure the PTO doesn’t transfer too much or too little horsepower to the equipment. It is bad for the equipment and potentially unsafe to the operator to cheat on this item. Consider having some extra shear bolts on hand so you don’t have to compromise.
Inspect all guards and shields – Don’t take your safety, or the safety of your loved ones for granted, never run an auger without the proper guards and shields in place. If one is missing, contact the original equipment manufacturer for a replacement. Most companies will work with you to make replacing missing guards and shields a reasonable thing to do.